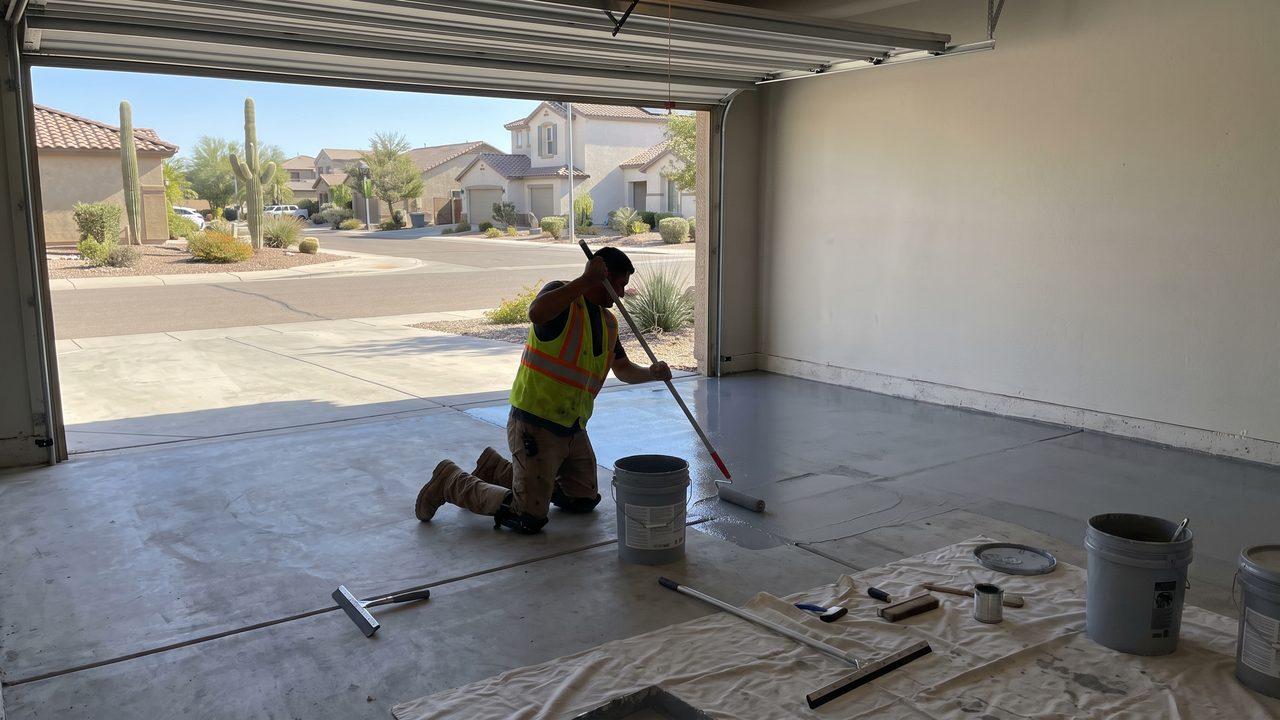
One of the first questions every homeowner asks before scheduling an epoxy garage floor Phoenix installation is simple: how long will my garage actually be out of commission? The honest answer is a little more nuanced than a single number, because grinding, coating, and cure each have their own timeline - and Phoenix's climate speeds some parts up while complicating others.
This guide walks through the realistic day-by-day timeline for a typical Phoenix garage epoxy installation, what's happening at each stage, and how to plan around the parts of your life that depend on having a usable garage.
Knowing this timeline in advance also helps you evaluate a contractor's quote. A bid that promises a full cure in a single day, or that skips clearly defined stages, is usually cutting a corner somewhere - understanding what a properly paced installation actually looks like is one of the best tools a homeowner has for spotting a rushed job before it becomes a problem.
Garage size changes the total labor time but not the fundamental sequence of stages - a larger three-car garage simply takes crews longer to grind, coat, and flake within each day's window, rather than adding extra calendar days to the project. Our 2-car vs 3-car cost breakdown covers how garage size affects both price and crew scheduling in more detail.
1. Day 1: Surface Grinding and Prep
Day one of a professional installation is dedicated entirely to mechanically grinding the concrete surface and repairing any cracks or pitting, which creates the textured bonding profile the epoxy needs to adhere properly - this step alone determines whether the finished floor lasts years or fails within months.
Diamond grinding equipment removes the top layer of the slab, along with any prior sealer, paint, or contamination that would otherwise block adhesion. Dust containment systems keep the process from turning the garage and surrounding area into a cloud of concrete dust, which matters both for cleanup and for air quality inside an attached garage. Once grinding is complete, the crew vacuums thoroughly and inspects the surface for any remaining problem areas - a crack that looked minor before grinding sometimes turns out to need patching once the surface is fully exposed.
Moisture Testing Happens Here Too
Before any coating goes down, a professional crew tests the freshly ground slab for moisture vapor emission. This is a step that's easy to skip and impossible to notice visually, which is exactly why it needs to happen on day one rather than being assumed away - a slab that tests high for moisture needs a vapor-mitigating primer before coating can proceed safely.
Everything homeowners need to do before the crew even arrives happens well before day one. Clearing the garage completely - vehicles, storage boxes, wall-mounted shelving that sits low enough to be in the way - needs to happen the night before or the morning of, since grinding equipment and dust containment barriers need the full floor area to work properly. Our guide to preparing your garage for epoxy covers this pre-installation checklist in full, and skipping items on it is one of the most common causes of a delayed start on day one.
2. Day 2: Base Coat and Repairs
Day two is when the first structural coat goes down, typically a primer or base epoxy coat that bonds directly to the freshly ground concrete and any patched repair areas from the day before.
This stage moves faster than most homeowners expect visually - a two-car garage's base coat can often be rolled out in a matter of hours - but the coat then needs its full recoat window before the next layer can go on. In Phoenix's heat, that window is shorter than manufacturer specs written for a milder climate, which means crews are watching slab temperature and tack time closely rather than working off a fixed clock.
| Stage | Typical Duration | Garage Usable? |
|---|---|---|
| Day 1: Grinding & prep | Full day | No - dust and equipment in use |
| Day 2: Base coat | Full day | No - coating curing |
| Day 3: Flake & top coat | Full day | No - coating curing |
| Cure before foot traffic | ~24 hours | Light foot traffic only |
| Cure before vehicle traffic | ~72 hours | Full vehicle use |
3. Day 3: Color Flake and Top Coat
Day three is when the decorative color flake gets broadcast into the still-wet base coat and, after that layer sets, a clear protective top coat seals everything in - this top coat is what actually gives the floor its chemical resistance, gloss, and hot-tire durability.
The flake broadcast step is more art than science, and it's one of the clearest places where experience shows. An installer needs to distribute flake evenly across the whole floor while it's still workable, without leaving bare patches or overly dense clumps - get this wrong and the finished floor's pattern looks noticeably uneven for as long as you own it, since it can't be corrected without a full recoat.
Once the top coat - often a polyaspartic floor coating for its fast cure and UV stability - goes down, the floor needs to cure undisturbed. This is the stage where patience matters most, because a floor that looks dry to the touch after a few hours is often nowhere near fully cured underneath.
Some Phoenix homeowners choose an epoxy-only top coat rather than polyaspartic, usually to save on material cost, and that choice does affect the timeline slightly. Standard epoxy top coats generally need a longer cure window before they're ready for vehicle traffic compared to polyaspartic, which is formulated specifically for fast turnaround. Crews will factor this difference into the schedule they quote, so it's worth asking directly which system your quote assumes if a specific move-in date matters to your planning.
Weather permitting, most crews prefer to schedule the flake-and-topcoat day for a morning start as well, since the top coat's clarity and gloss can be affected by dust settling into it while it's still tacky - an issue far more likely on a windy afternoon than in the calmer morning hours typical of a Phoenix day before the heat builds.
4. Cure Time Before You Can Park a Car
Light foot traffic is typically safe after about 24 hours, but full vehicle traffic - including the weight and heat of parking a car - needs closer to 72 hours of cure time before it's safe, and rushing this step is one of the most common ways a brand-new floor gets damaged in its first week.
No traffic at all. The coating is still actively curing and vulnerable to any contact.
Light foot traffic in socks or clean shoes only - no dragging heavy items across the surface.
Vehicle traffic is generally safe, though full chemical cure can continue for another week or more.
Full hardness and chemical resistance is typically reached - avoid harsh chemicals or heavy impacts before this point.
5. How Phoenix Heat Speeds Up (and Complicates) the Schedule
Phoenix heat speeds up the chemical cure reaction in epoxy and polyaspartic coatings, which can shorten the calendar time between stages compared to a cooler climate - but it also shrinks the working window installers have to properly level and finish each coat before it starts to set.
This is why experienced Phoenix crews schedule installations for early morning starts whenever possible, especially during summer months when slab temperatures climb fast once the sun is up. Working in smaller sections and moving with practiced speed lets a crew stay ahead of the set time without sacrificing a smooth, level finish. A crew unfamiliar with these conditions - or a DIY installer working from generic instructions - can easily end up fighting the material rather than working with it, resulting in visible texture or roller marks that a rushed pace leaves behind. For homeowners comparing their options, our DIY kit vs. professional install comparison covers this exact risk in more depth.
Monsoon season introduces the opposite complication: elevated humidity can slow surface cure and, in rare cases, cause a hazy or blushed finish if a coating is applied right before a humidity spike. Professional crews track weather forecasts as part of scheduling for this reason, and a good installer won't hesitate to push a start date back a day rather than risk the finish quality of the job.
Seasonal demand also affects scheduling more than the installation itself. Fall and spring, when Phoenix temperatures sit in a comfortable middle ground, tend to be the busiest booking windows for local installers - homeowners planning around a specific date, like before a holiday gathering or a home sale, should book several weeks ahead during those seasons. Our 2026 fall installation season guide has more detail on planning around seasonal booking demand.
What This Means for Planning Your Own Project
Practically speaking, a homeowner should plan for their garage to be fully unavailable for three full days, plus a few more days of "light use only" before treating it like a normal garage again. Anyone with a specific deadline - hosting an event, needing the garage for a move, or timing it around a vehicle purchase - should build in a buffer day or two beyond the minimum timeline in case weather or an unexpected repair adds time to the schedule.
It's also worth planning for where vehicles and stored belongings will go during the project, since the driveway is the obvious spot but Phoenix's summer sun can make a car parked there for three straight days uncomfortably hot inside. Homeowners without a second covered spot sometimes arrange with a neighbor or use a nearby storage unit for anything sensitive to heat, particularly during peak summer installation windows.
Repairs Found Mid-Project Can Add Time
Occasionally, grinding on day one reveals a crack, a section of spalled concrete, or old adhesive residue that needs more attention than a typical patch. When this happens, an experienced crew will flag it immediately rather than coating over a problem that will resurface later. Depending on severity, this can add anywhere from a few hours to a full extra day to the schedule - which is a worthwhile trade-off compared to the alternative of a coating failing prematurely over a slab issue that was visible but ignored. If your existing floor already shows signs of cracking or a failed prior coating, our epoxy floor repair team can assess it ahead of a new installation so surprises like this are caught during the initial estimate rather than mid-project.
6. Frequently Asked Questions
Get a Free Installation Timeline Estimate
See exactly how your project would be scheduled, based on your garage size and the season.