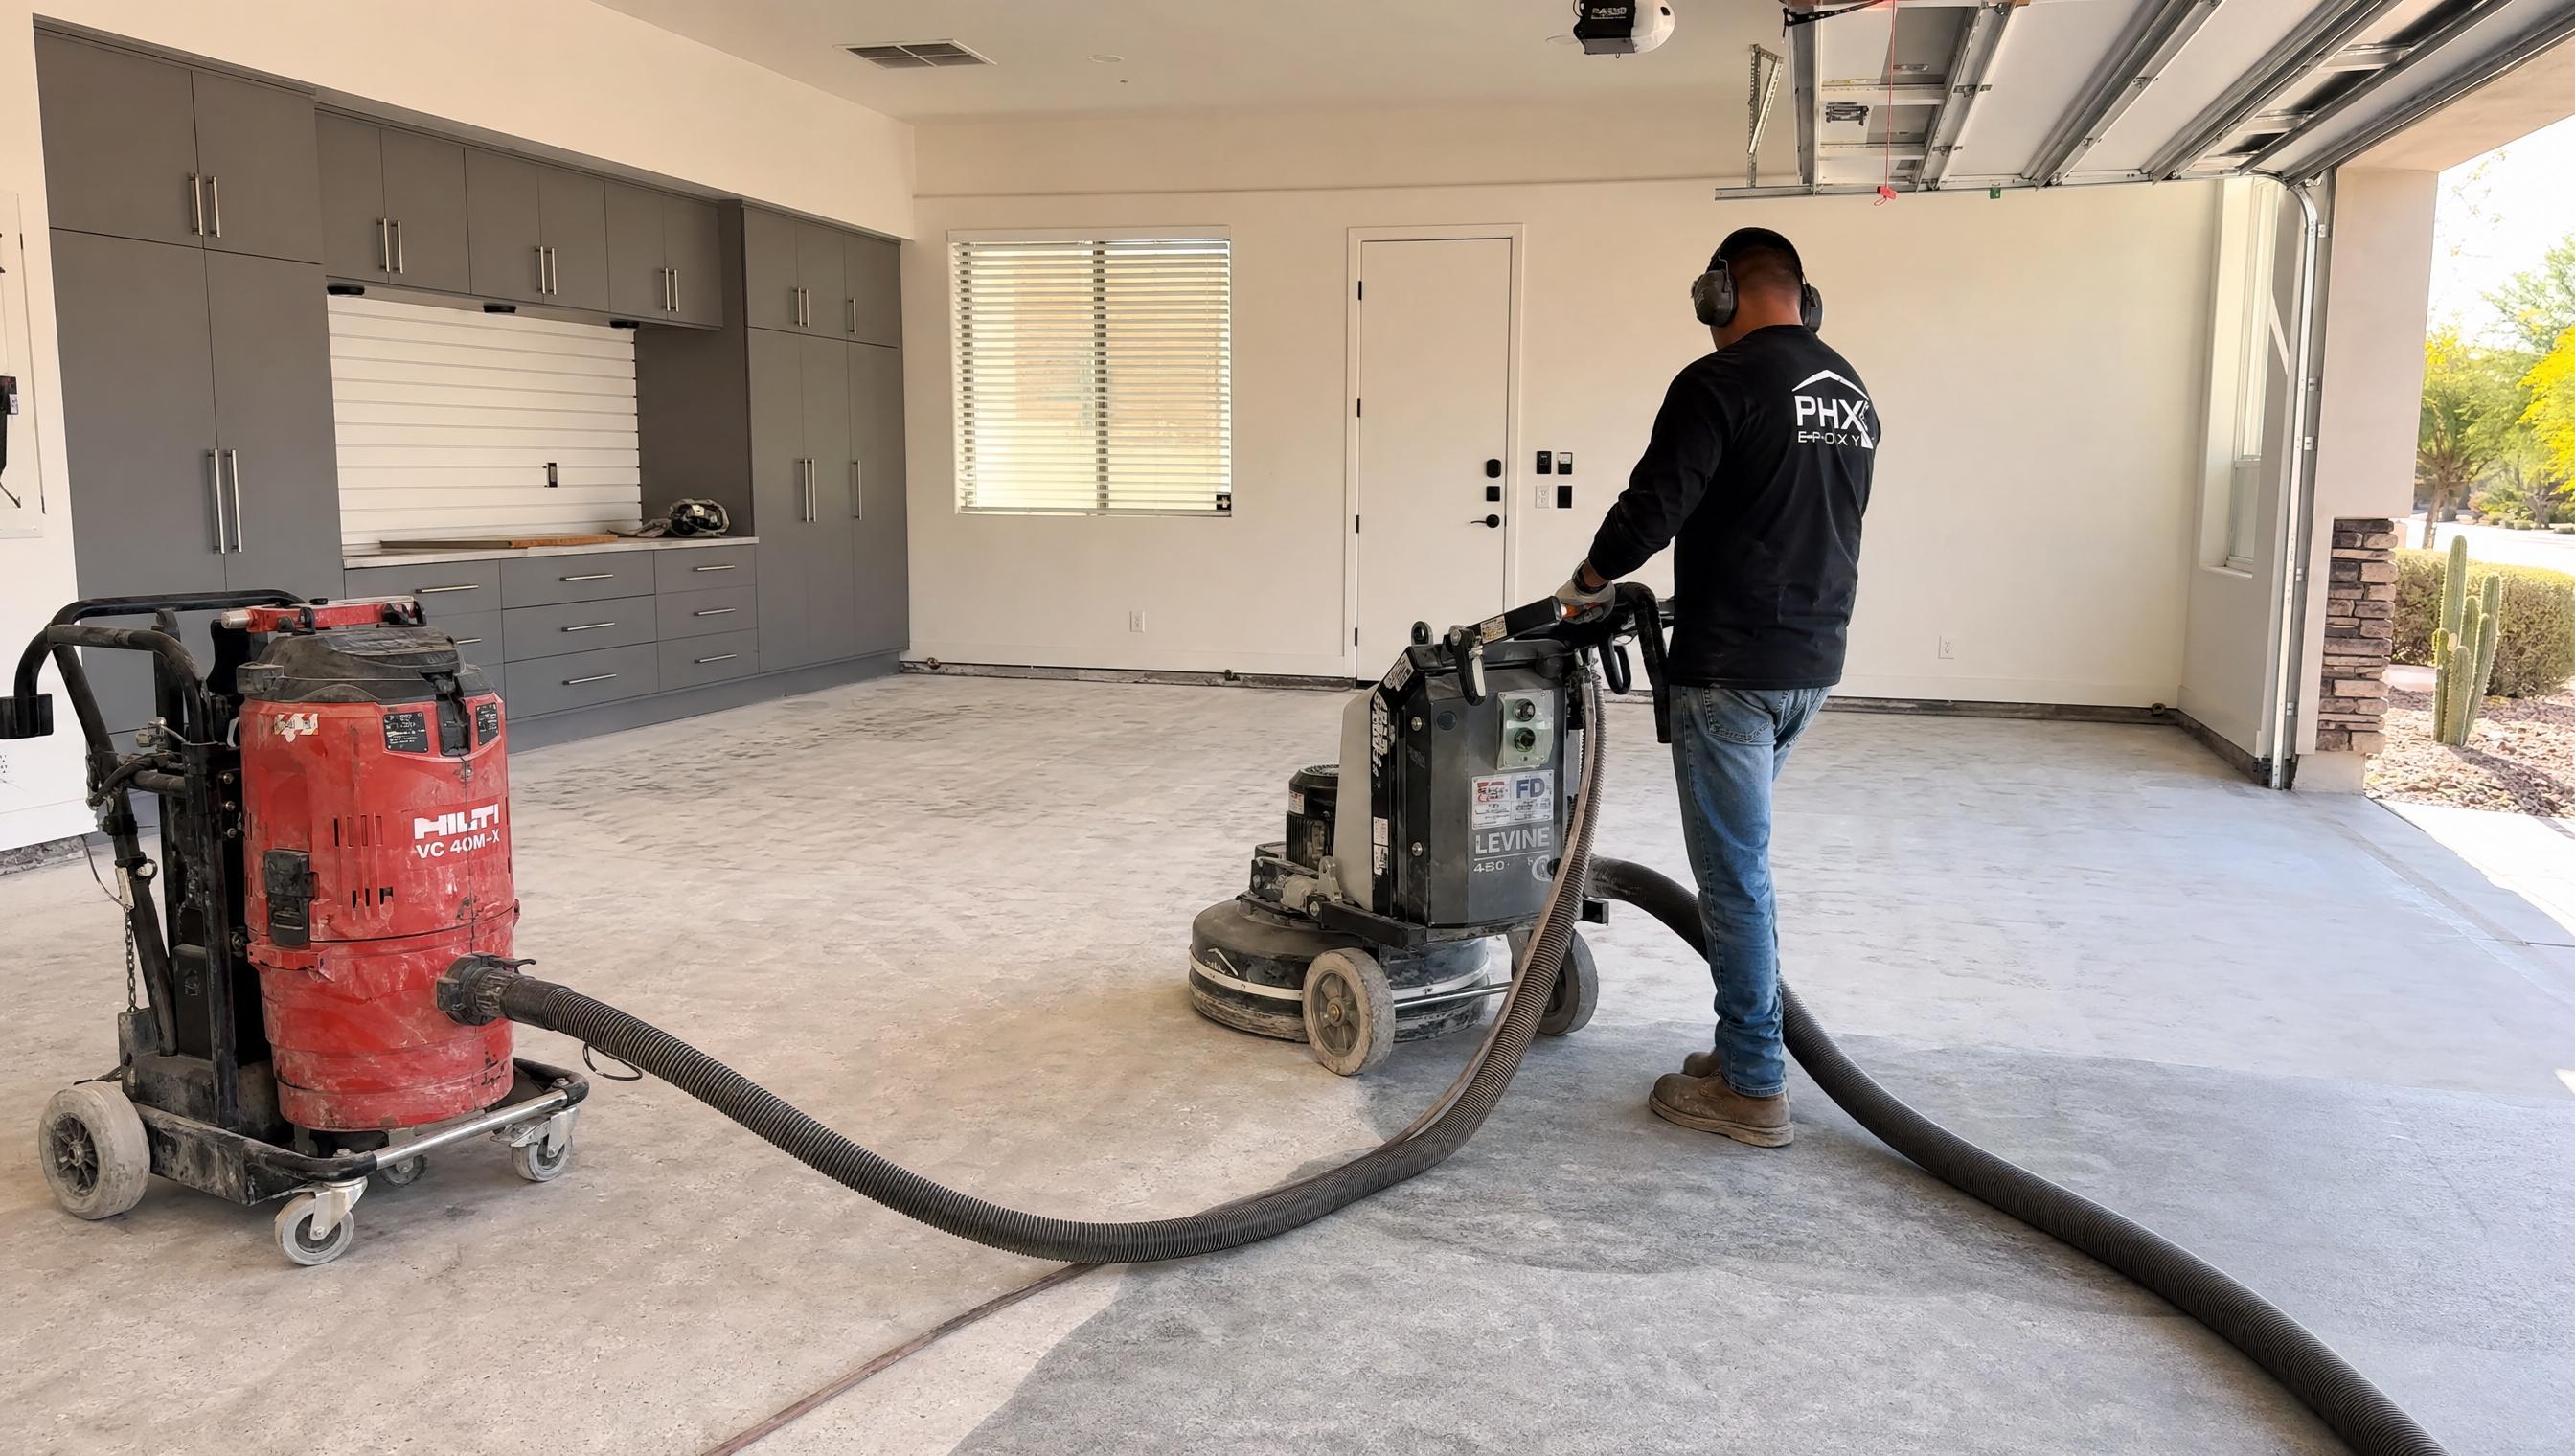
Getting your garage ready before the crew arrives makes the whole epoxy installation faster and helps the finished floor last longer. Here's exactly what to expect - and what's on you versus what ProEpoxy handles on install day.
What Prep Looks Like and Why It Matters
Epoxy bonds to concrete at a microscopic level after diamond grinding - anything left on the slab (dust, oil residue, loose items) gets in the way of that bond or the finished look. A little prep on your end saves time on installation day and helps avoid delays that push your project into Phoenix's hottest afternoon hours.
Arizona tip: Summer epoxy installs start early - typically 6–7 AM - to beat peak slab temperatures. Having the garage fully cleared the night before means we can start grinding the moment we arrive, not two hours into the heat.
The 5-Step Prep Checklist
Clear the Garage Completely
Remove vehicles, tools, storage shelving, wall-mounted cabinets, and anything sitting directly on the floor. The crew needs a completely empty slab to grind and coat edge-to-edge - items left along walls mean uncoated strips that become permanent gaps in your floor.
Note Any Cracks, Stains, or Previous Coatings
Walk the floor beforehand and flag any cracks, oil stains, or old paint or sealer. This helps the team plan for extra crack repair or stripping time during the estimate rather than as a surprise on install day. Photos are helpful - send them to us before the estimate visit.
Avoid Parking on the Slab for 48 Hours Before
Fresh oil drips or fluid leaks in the days right before installation can soak into the concrete and create adhesion problems if not fully addressed during prep. Park in the driveway or street for a couple of days beforehand if possible.
What ProEpoxy Handles on Install Day
Our crew handles all the technical prep: diamond grinding the entire slab to open concrete's pores for proper adhesion, a moisture vapor emission test (critical on Arizona slabs, which can trap and release moisture quickly), and any necessary crack or spall repair before the base coat goes down. You don't touch any of this.
Plan for a 24–48 Hour Cure Window
Depending on the system and Phoenix's summer heat - which actually speeds cure time - plan to keep the garage vehicle-free for 24–48 hours after topcoat application. We give you exact walk-on and drive-on timelines before we leave the job.
Common Prep Mistakes That Cause Coating Failures
Skipping the Moisture Test
Older Phoenix slabs without a vapor barrier can have elevated moisture vapor emission rates. Coating over high-MVER concrete without a vapor-tolerant primer causes delamination - the coating lifts in sheets within months.
Not Addressing Oil-Soaked Concrete
Oil penetrates deep into concrete. Grinding alone doesn't always remove it completely - contaminated sections need degreasing or a specialized primer system. Coating over them causes adhesion failure in those zones.
Coating Over an Existing Sealer
Many Phoenix garages were sealed after construction. Epoxy won't bond to a sealer - it bonds to concrete. The sealer must be stripped or ground off entirely before any epoxy system goes down.
Wrong Topcoat for Arizona UV
Standard epoxy yellows and chalks under Phoenix UV. A UV-stable polyaspartic or aliphatic polyurethane topcoat is required for any area with sun exposure - including most Phoenix garages with south- or west-facing doors.
Frequently Asked Questions
Ready to get your garage floor done right? Get a free on-site estimate - we assess your slab, walk you through the prep process, and give you a fixed price before anything starts.